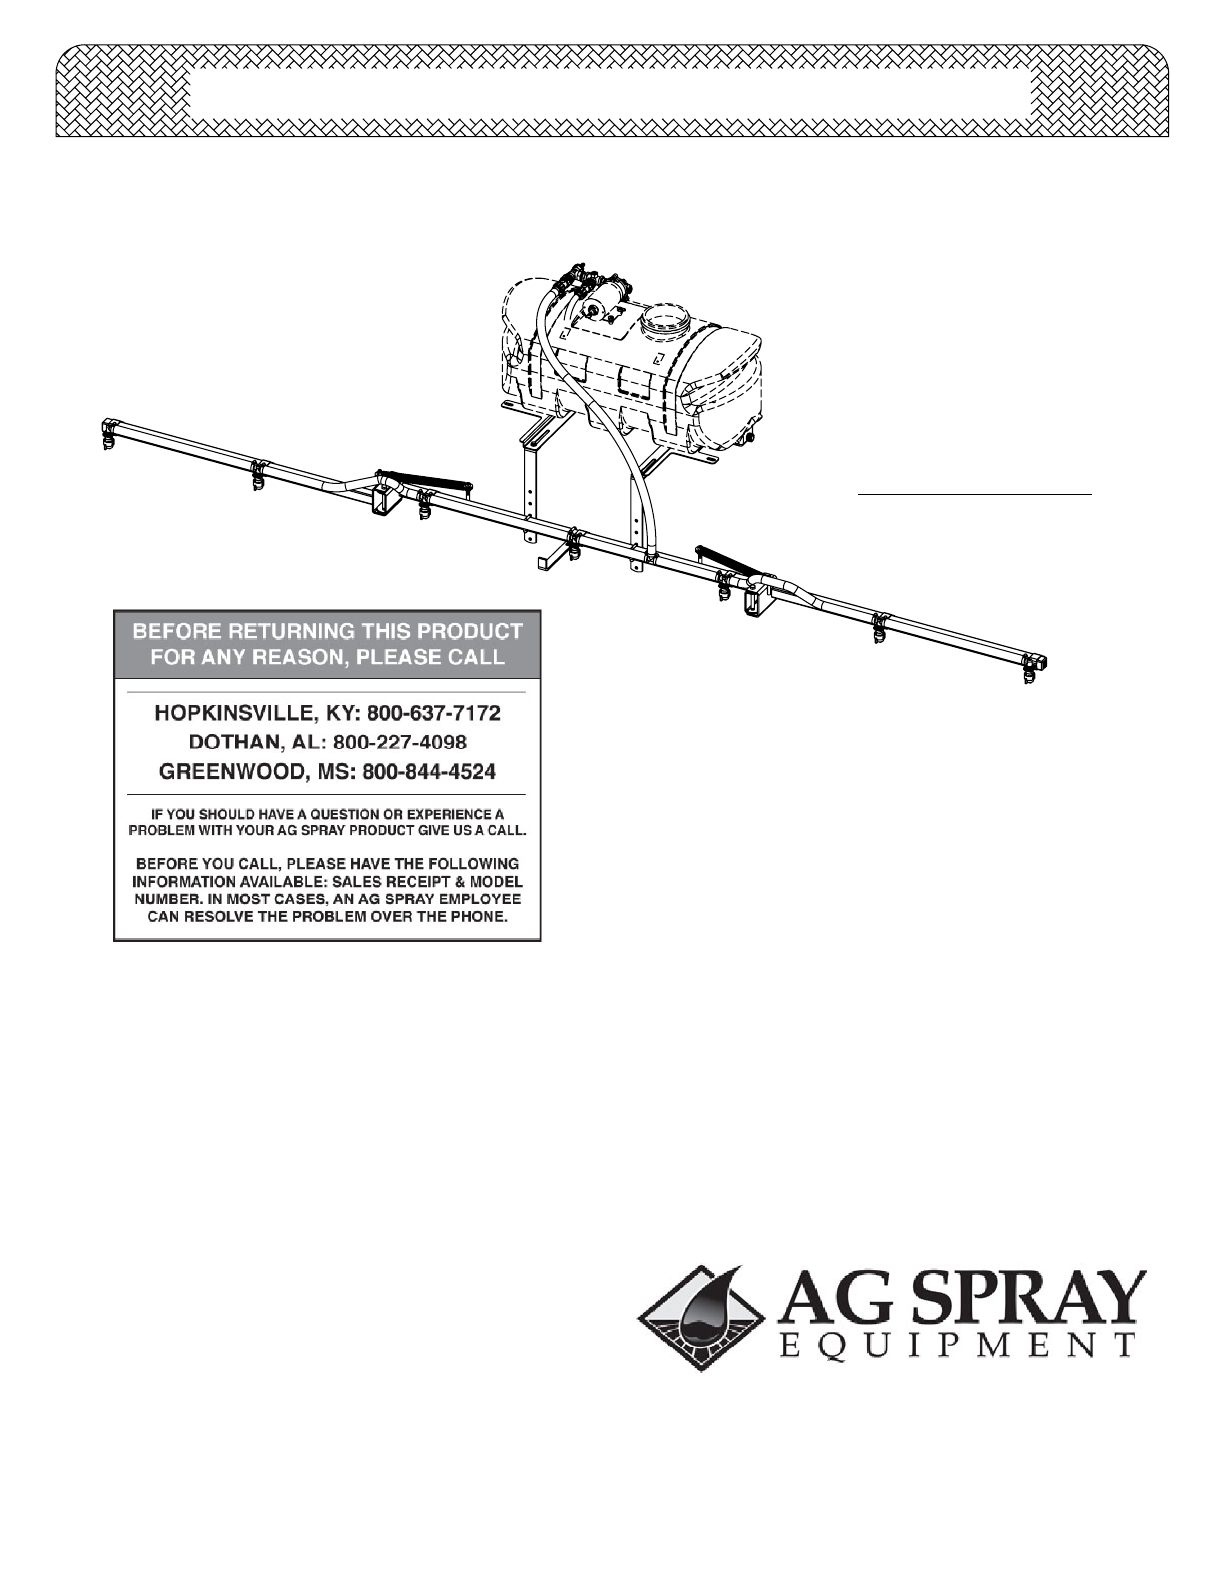
Ag-spray-equipment BA7SQK User Manual

Browse online or download User Manual for Water equipment Ag-spray-equipment BA7SQK. Ag Spray Equipment BA7SQK User Manual

  • Download
  • Add to my manuals
  • Print
  • Page
    / 3
  • Table of contents
  • BOOKMARKS
  • Rated. / 5. Based on customer reviews
Page view 0
Warranty/Parts/Service
Products are warranted for one year from date of purchase
against manufacturer or workmanship defects.
Commercial users have a 90 day warranty.
Your authorized dealer is the best source of replacement parts
and service. To obtain prompt, efficient service, always
remember to give the following information...
- Correct Part Description and/or part number.
- Model number/Serial number of your sprayer.
Part descriptions and part numbers can be obtained from the
illustrated parts list section(s) of this manual.
Whenever you need parts or repair service, contact your
distributor/dealer first. For warranty work, always take your
original sales slip, or other evidence of purchase date, to your
distributor/dealer.
NOTE:
Tank & pump are shown, but
NOT included in this assembly.
7-Nozzle Boom Assembly
140" Spray Coverage
Corrosion-Resistant Nozzles
Mounting brackets/hardware
Technical Specifications

(7-Nozzle Boom Assembly with Brackets/Hardware & Connecting Fittings)
Owner's Manual
General Information
Thank you for purchasing this Ag Spray product. The purpose
of this manual is to assist you in operating and maintaining
your boom kit. Please read it carefully, as it furnishes
information which will help you achieve years of trouble-free
operation.
Remove the parts to the boom assembly from the
carton. Refer to the parts list and exploded view
drawing to help identify all the components.
1. Attach the tank to the brackets loosely.
2. Place the sprayer onto the carrier rack of the ATV.
Use the u-bolts and hardware to secure the tank mount
to the rack.
3. Connect the boom mounting brackets to the tank
mounting brackets with hardware provided as shown.
Note these brackets will be located about 16 1/4" apart
on most ATV's. Now tighten all bolts and nuts.
4. Center the center section of the boom onto your
boom mounts, and secure in place with the hardware
provided. Be sure that the outer booms will fold
'backwards'. The boom should be about 17"-19" above
the ground.
5. Attach the nozzle harness assembly to the boom.
6. Route your boom feeder hose to the back end of the
sprayer. Join the hose to the tee barb. Then clamp in
place with a hose clamp.
CAUTION: Never use a metal object or other sharp
item for cleaning a nozzle tip. It is better to use a
nozzle brush (NOT wire brush) or compressed air
for tip cleaning.
Assembly
Form No. 1912 [5008225 (11/09)] Printed in the U.S.A.
www.agspray.com
1100 New Industry Lane
Hopkinsville, KY 42240
P: 800-637-7172
F: 270-885-7392
1563 S. Oates Street
Dothan, AL 36301
P: 800-227-4098
F: 334-673-1974
104 Eastman Street
Greenwood, MS 38930
P: 800-844-4524
F: 662-455-4442
Page view 0
1 2 3

Summary of Contents

Page 1 - Owner's Manual

Warranty/Parts/ServiceProducts are warranted for one year from date of purchase against manufacturer or workmanship defects.Commercial users have a 90

Page 2 - Winter Storage

Time Required in seconds to travel a distance of:17 344.05.06.07.09.08.010.07.66.89.78.51411151419172327100 Ft.68 sec.2.03.01.0(Miles per Hour)Speed i

Page 3 - Model: BA7SQK

Exploded View/Parts ListModel: BA7SQK?15.315.115.1115.115.1015.101213.1013.613.213.915.213.1116911174121213.841213.713.313.113.4?13.1012?13.58512 10 1

Comments to this Manuals

No comments